
Fun With AI
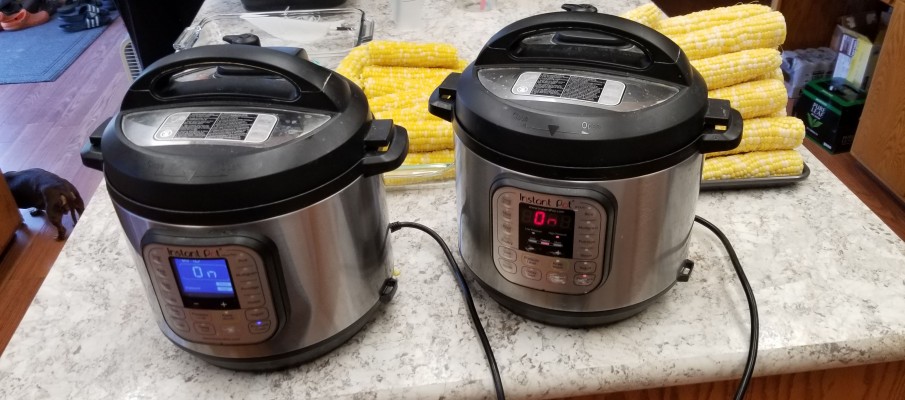
We have found our favorite way to harvest our annual sweet corn crop is to blanch it, cut it off the cob and freeze it.
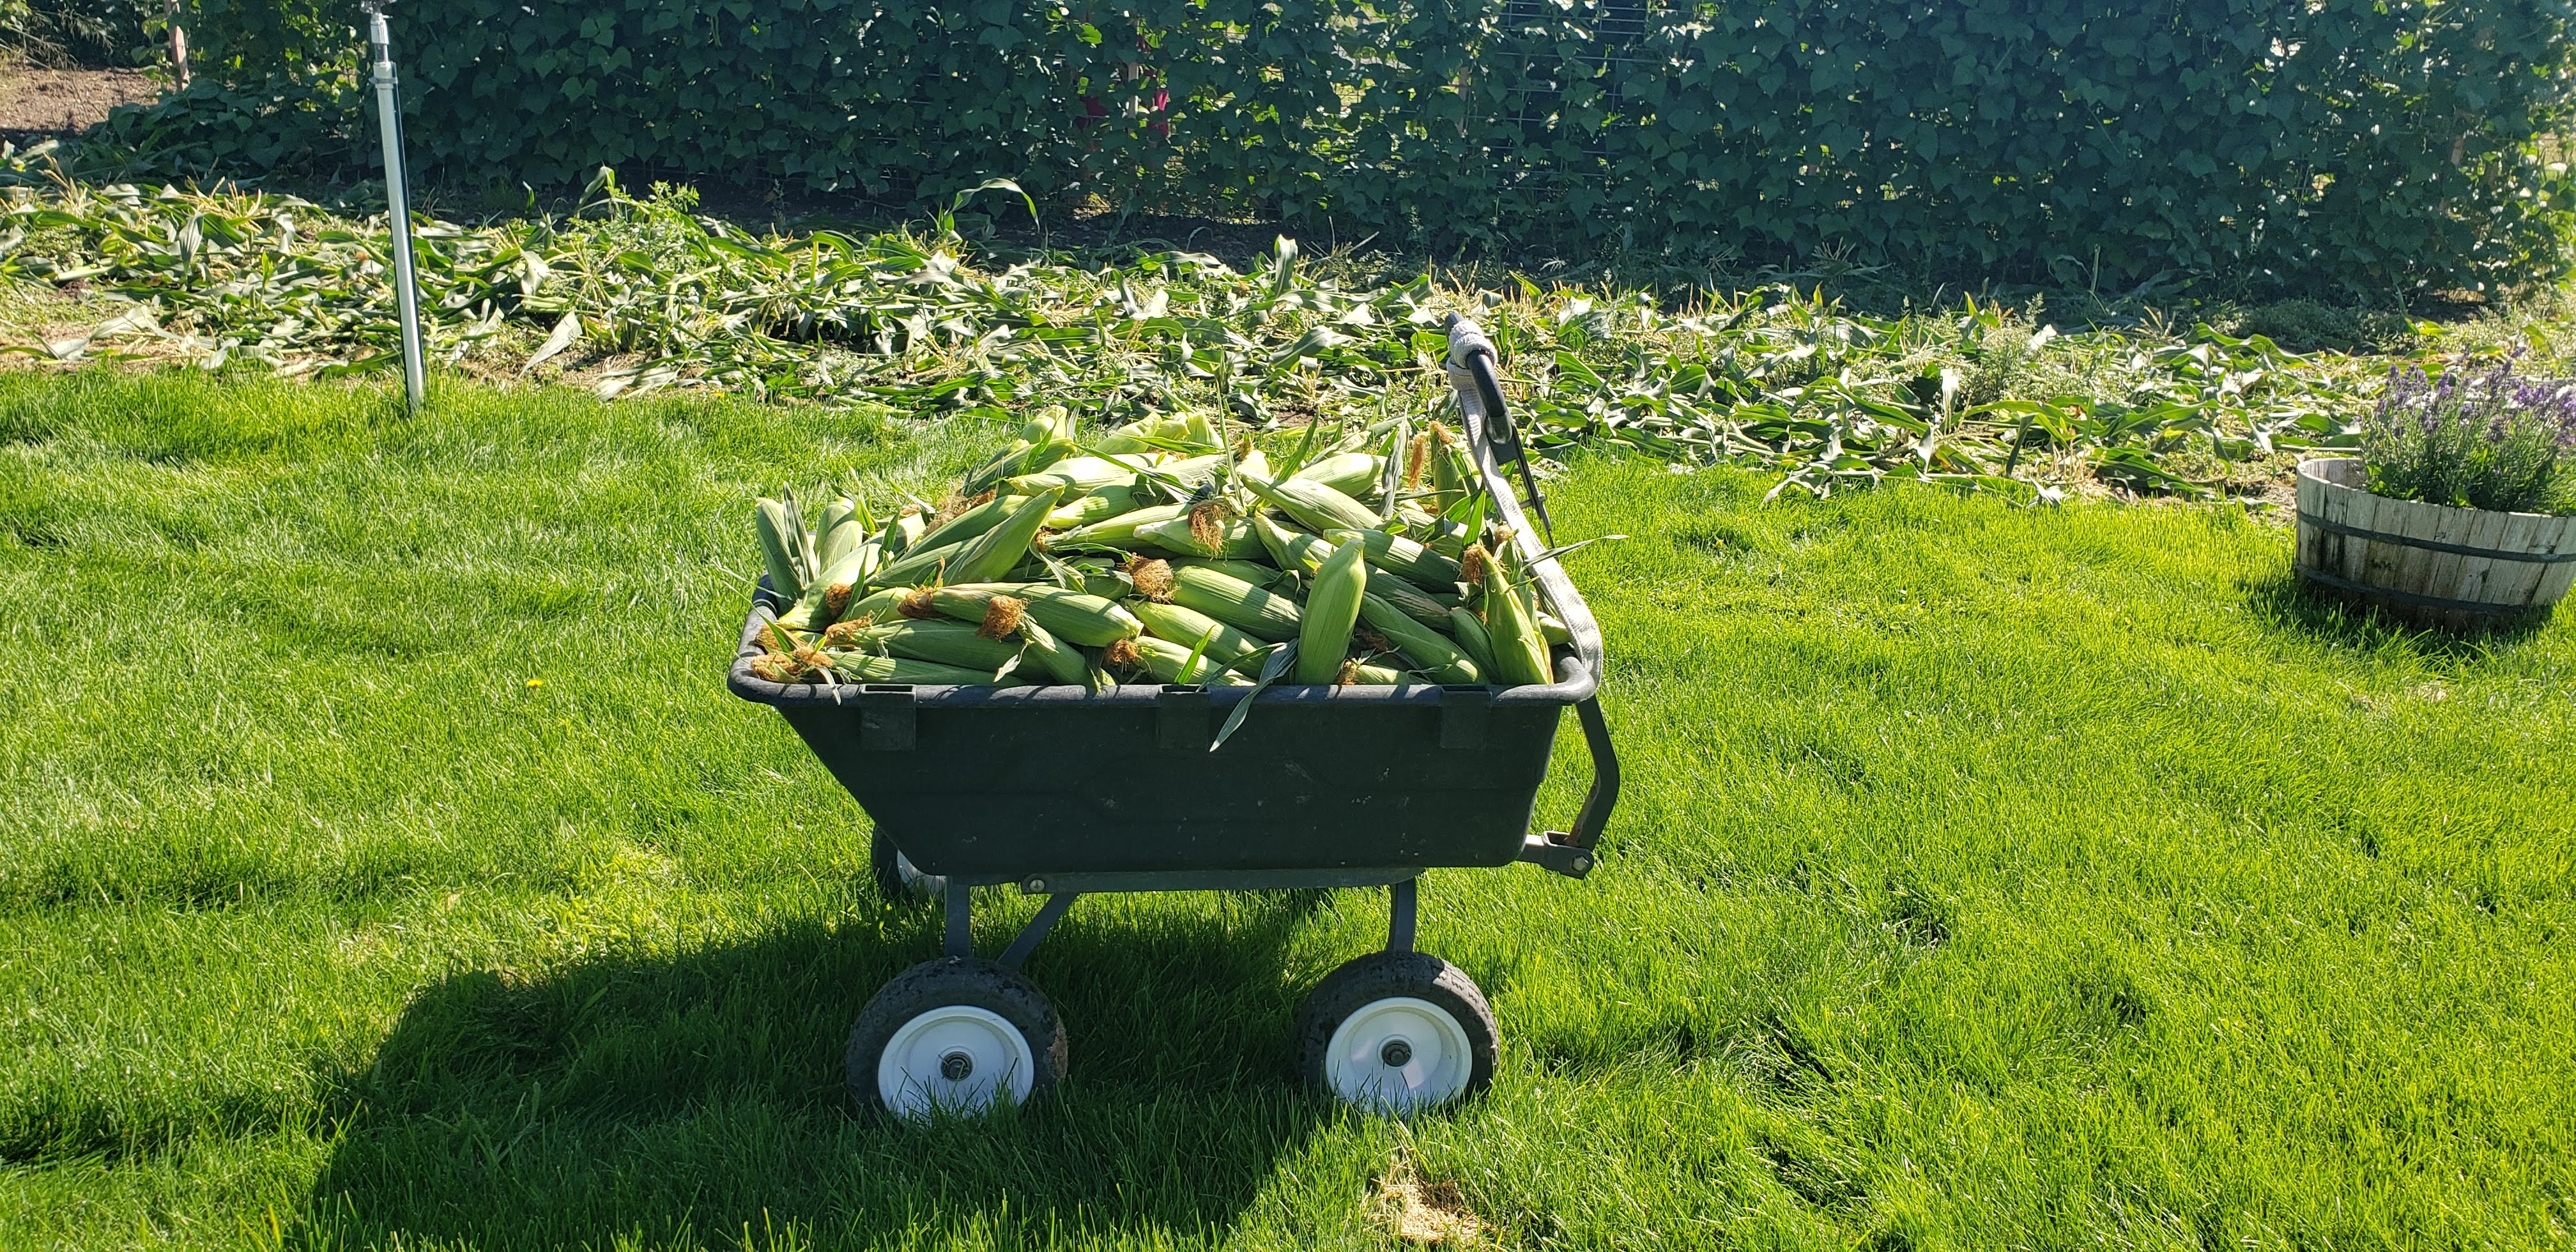
First we pick it.
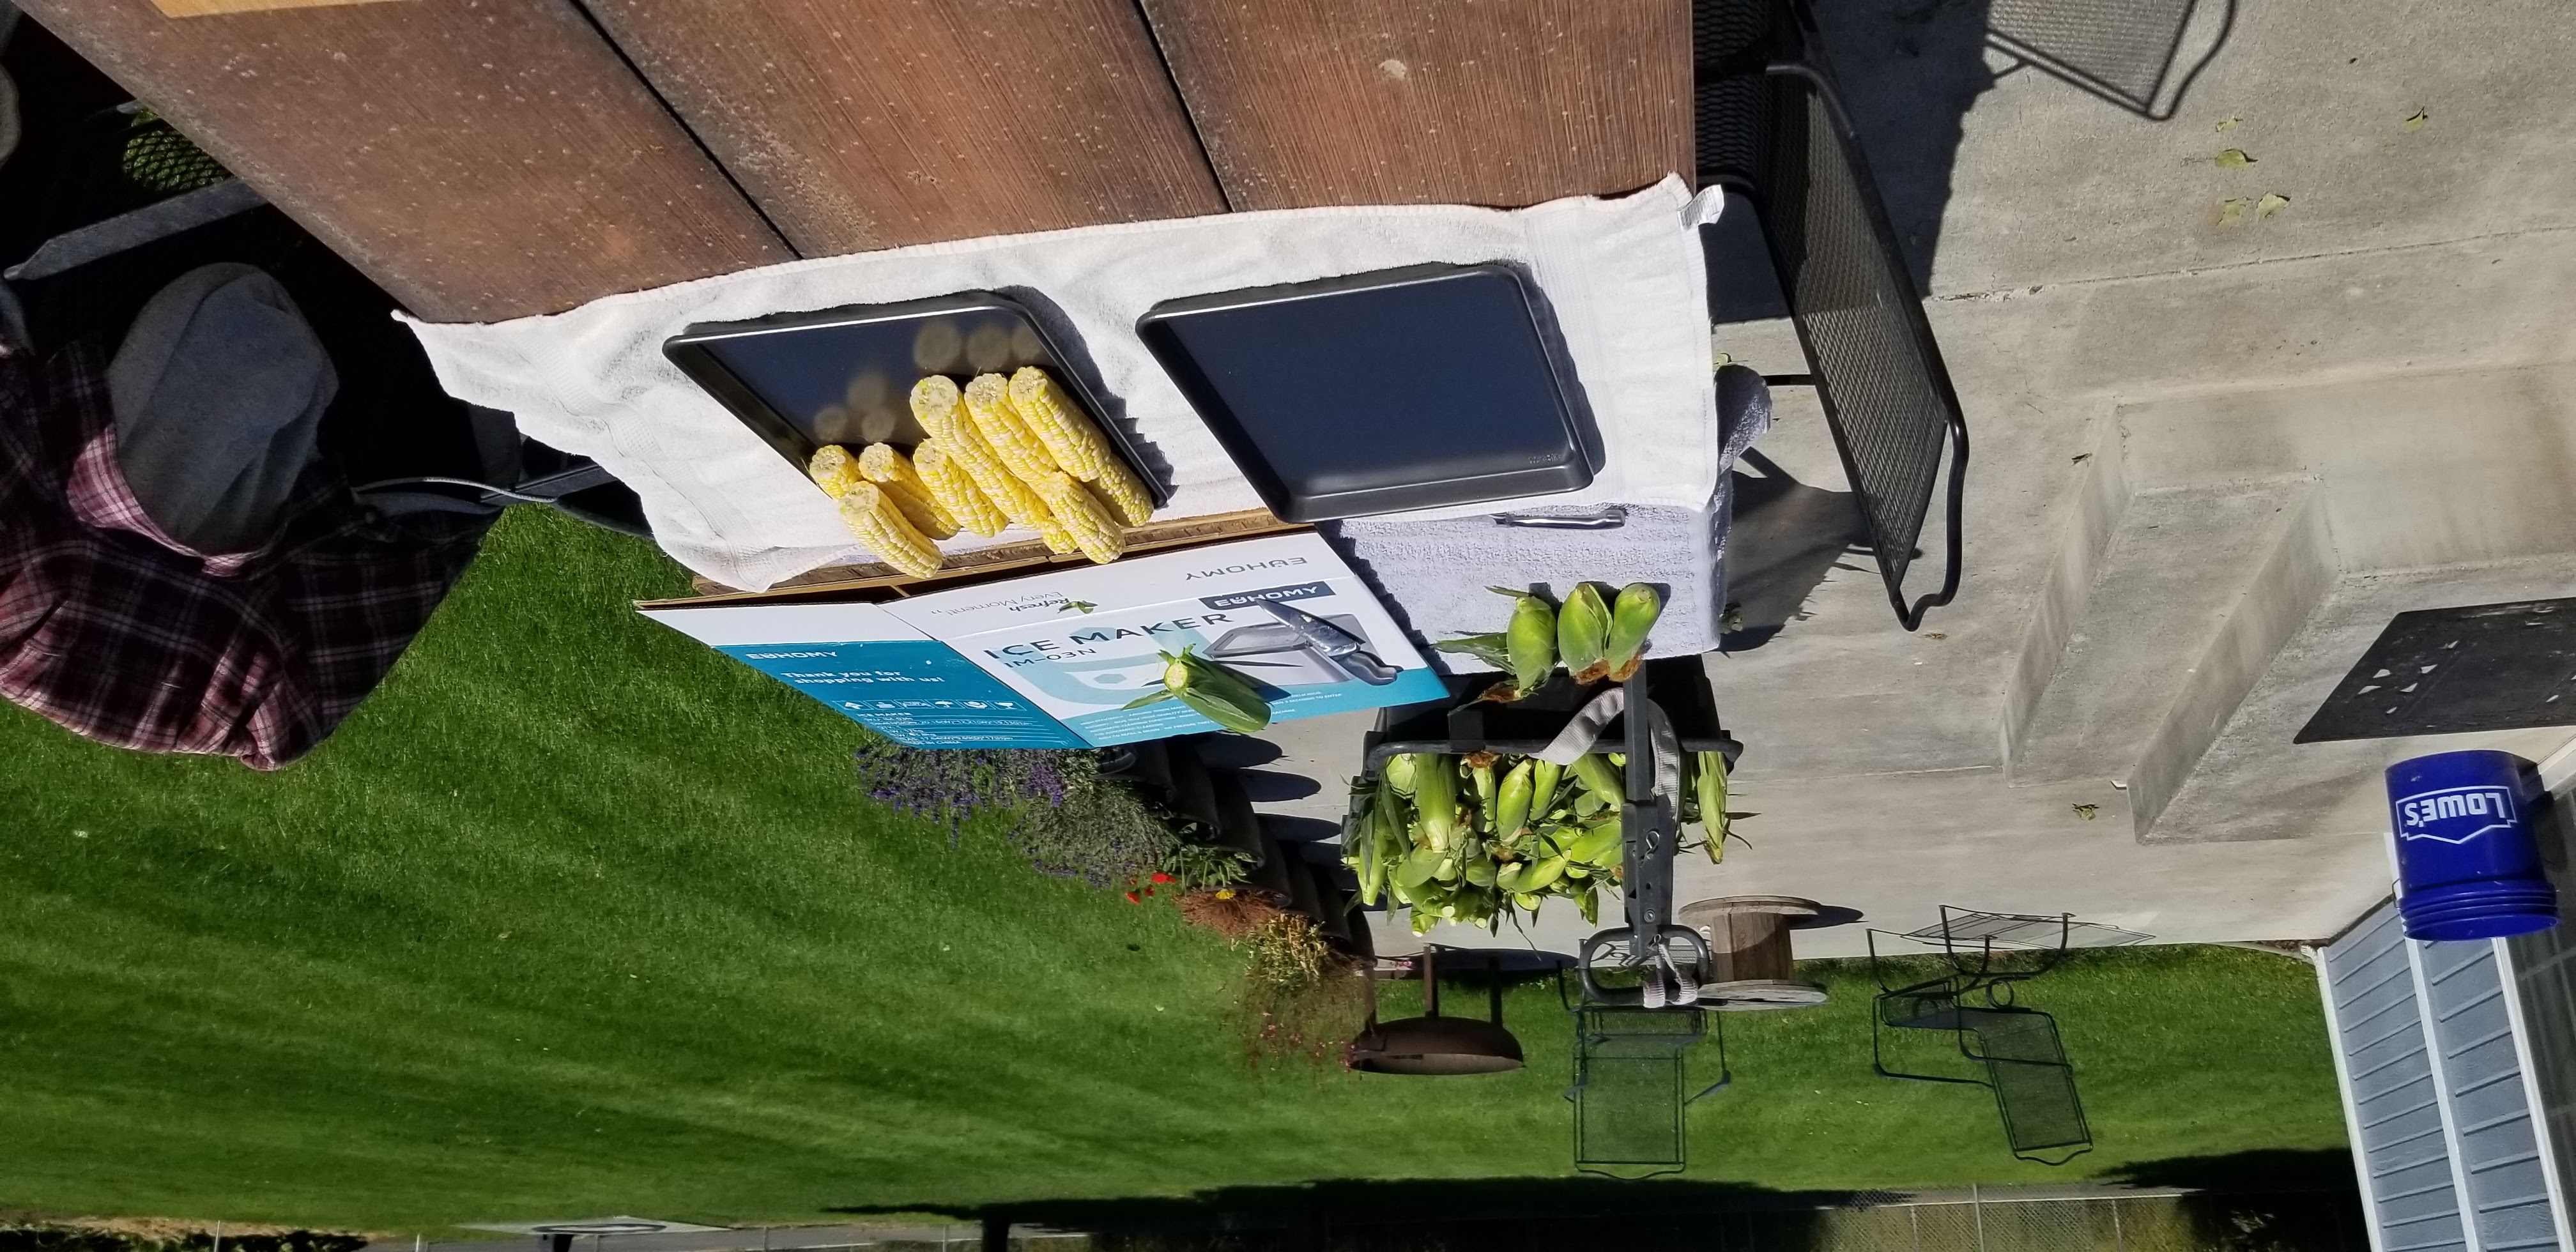
Then we cut the ends off and remove the husk. We stock pile the corn on cookie sheets as it waits for blanching.
We put the corn in the instant pots with about an inch or two of water in the bottom. Set the timer on the instant pot for…
3 minutes
Depressurized the instant pot and remove the blanched corn. We normally put the blanched corn into 9×13 glass pyrex pans.
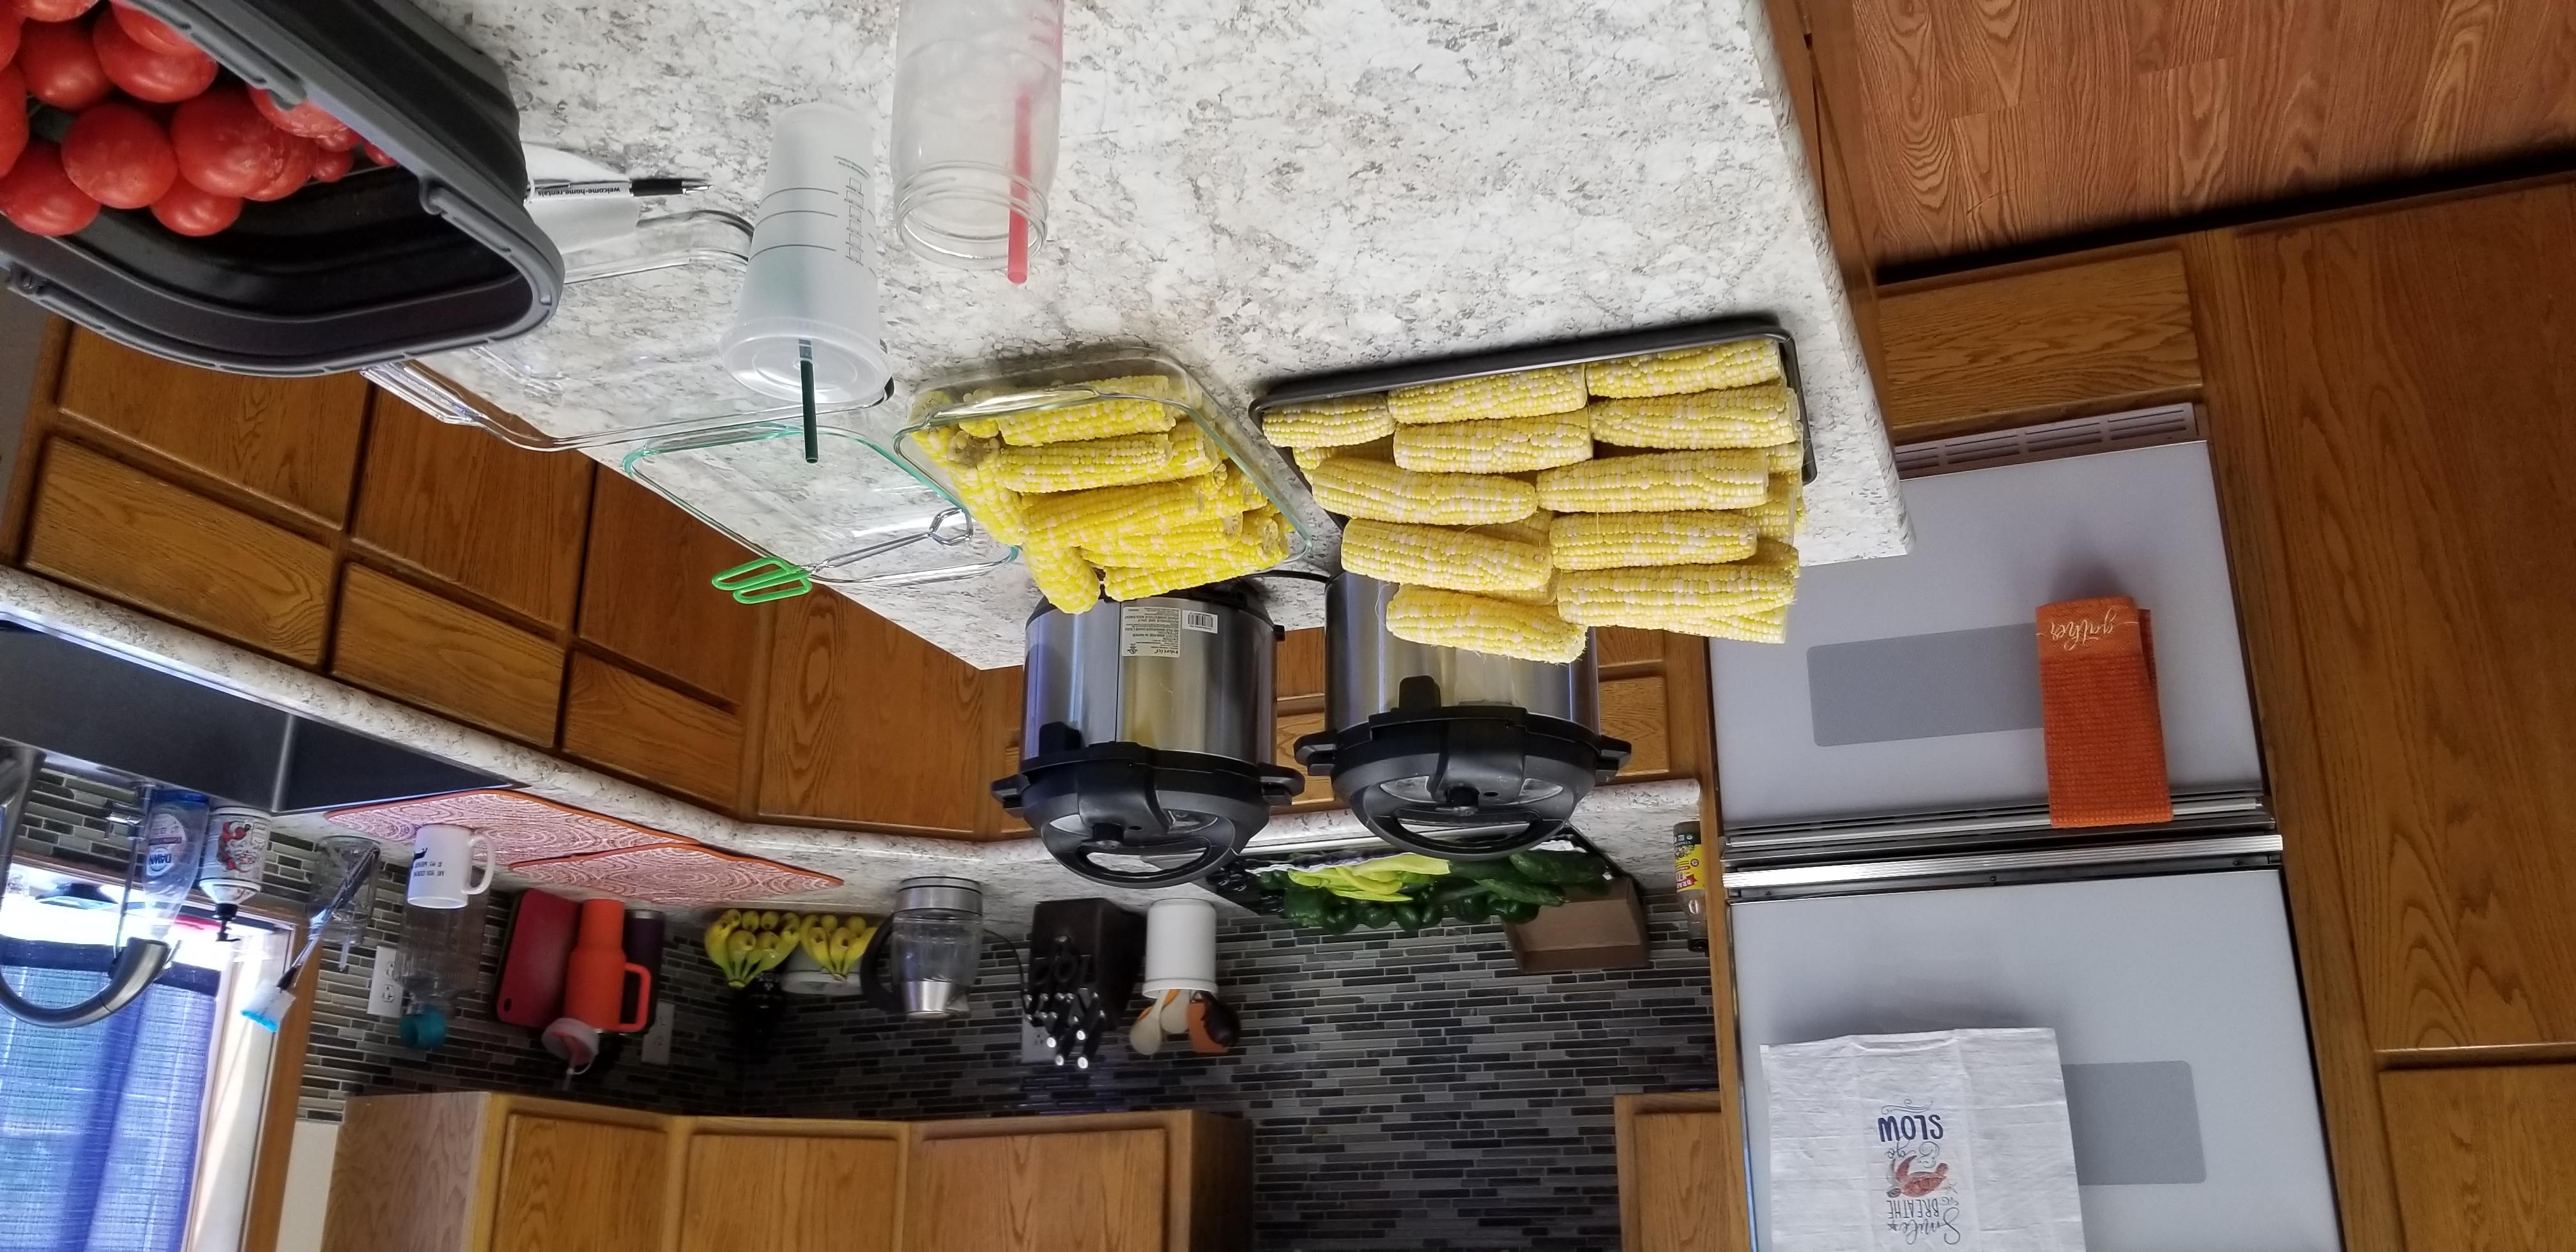
Allow the corn to cool for a few minutes. Then we cut the corn off the cobs using a scewer and large knife. Get close the cob but not too close as it is not fun to eat corn with crunchy cob bits in it. We scrape the corn off the cutting board into a 32 cup tupperware bowl. THIS IS A MESSY PROCESS. We put a bucket on the floor for composting the cobs. After all the corn is off the cobs, we put the corn in quart or gallon ziplock bags. We like to flatten then out and suck the air out. It is easier to break apart for smaller uses and sucking the air out helps keep it fresh. Enjoy your delicious sweet corn year round.
Put quart jars in dish washer. Add dish washer soap. Run dish washer.
Pick green beans. Cut off ends. Rinse.

Boil water in large sauce pan, medium sauce pan and electric tea kettle.
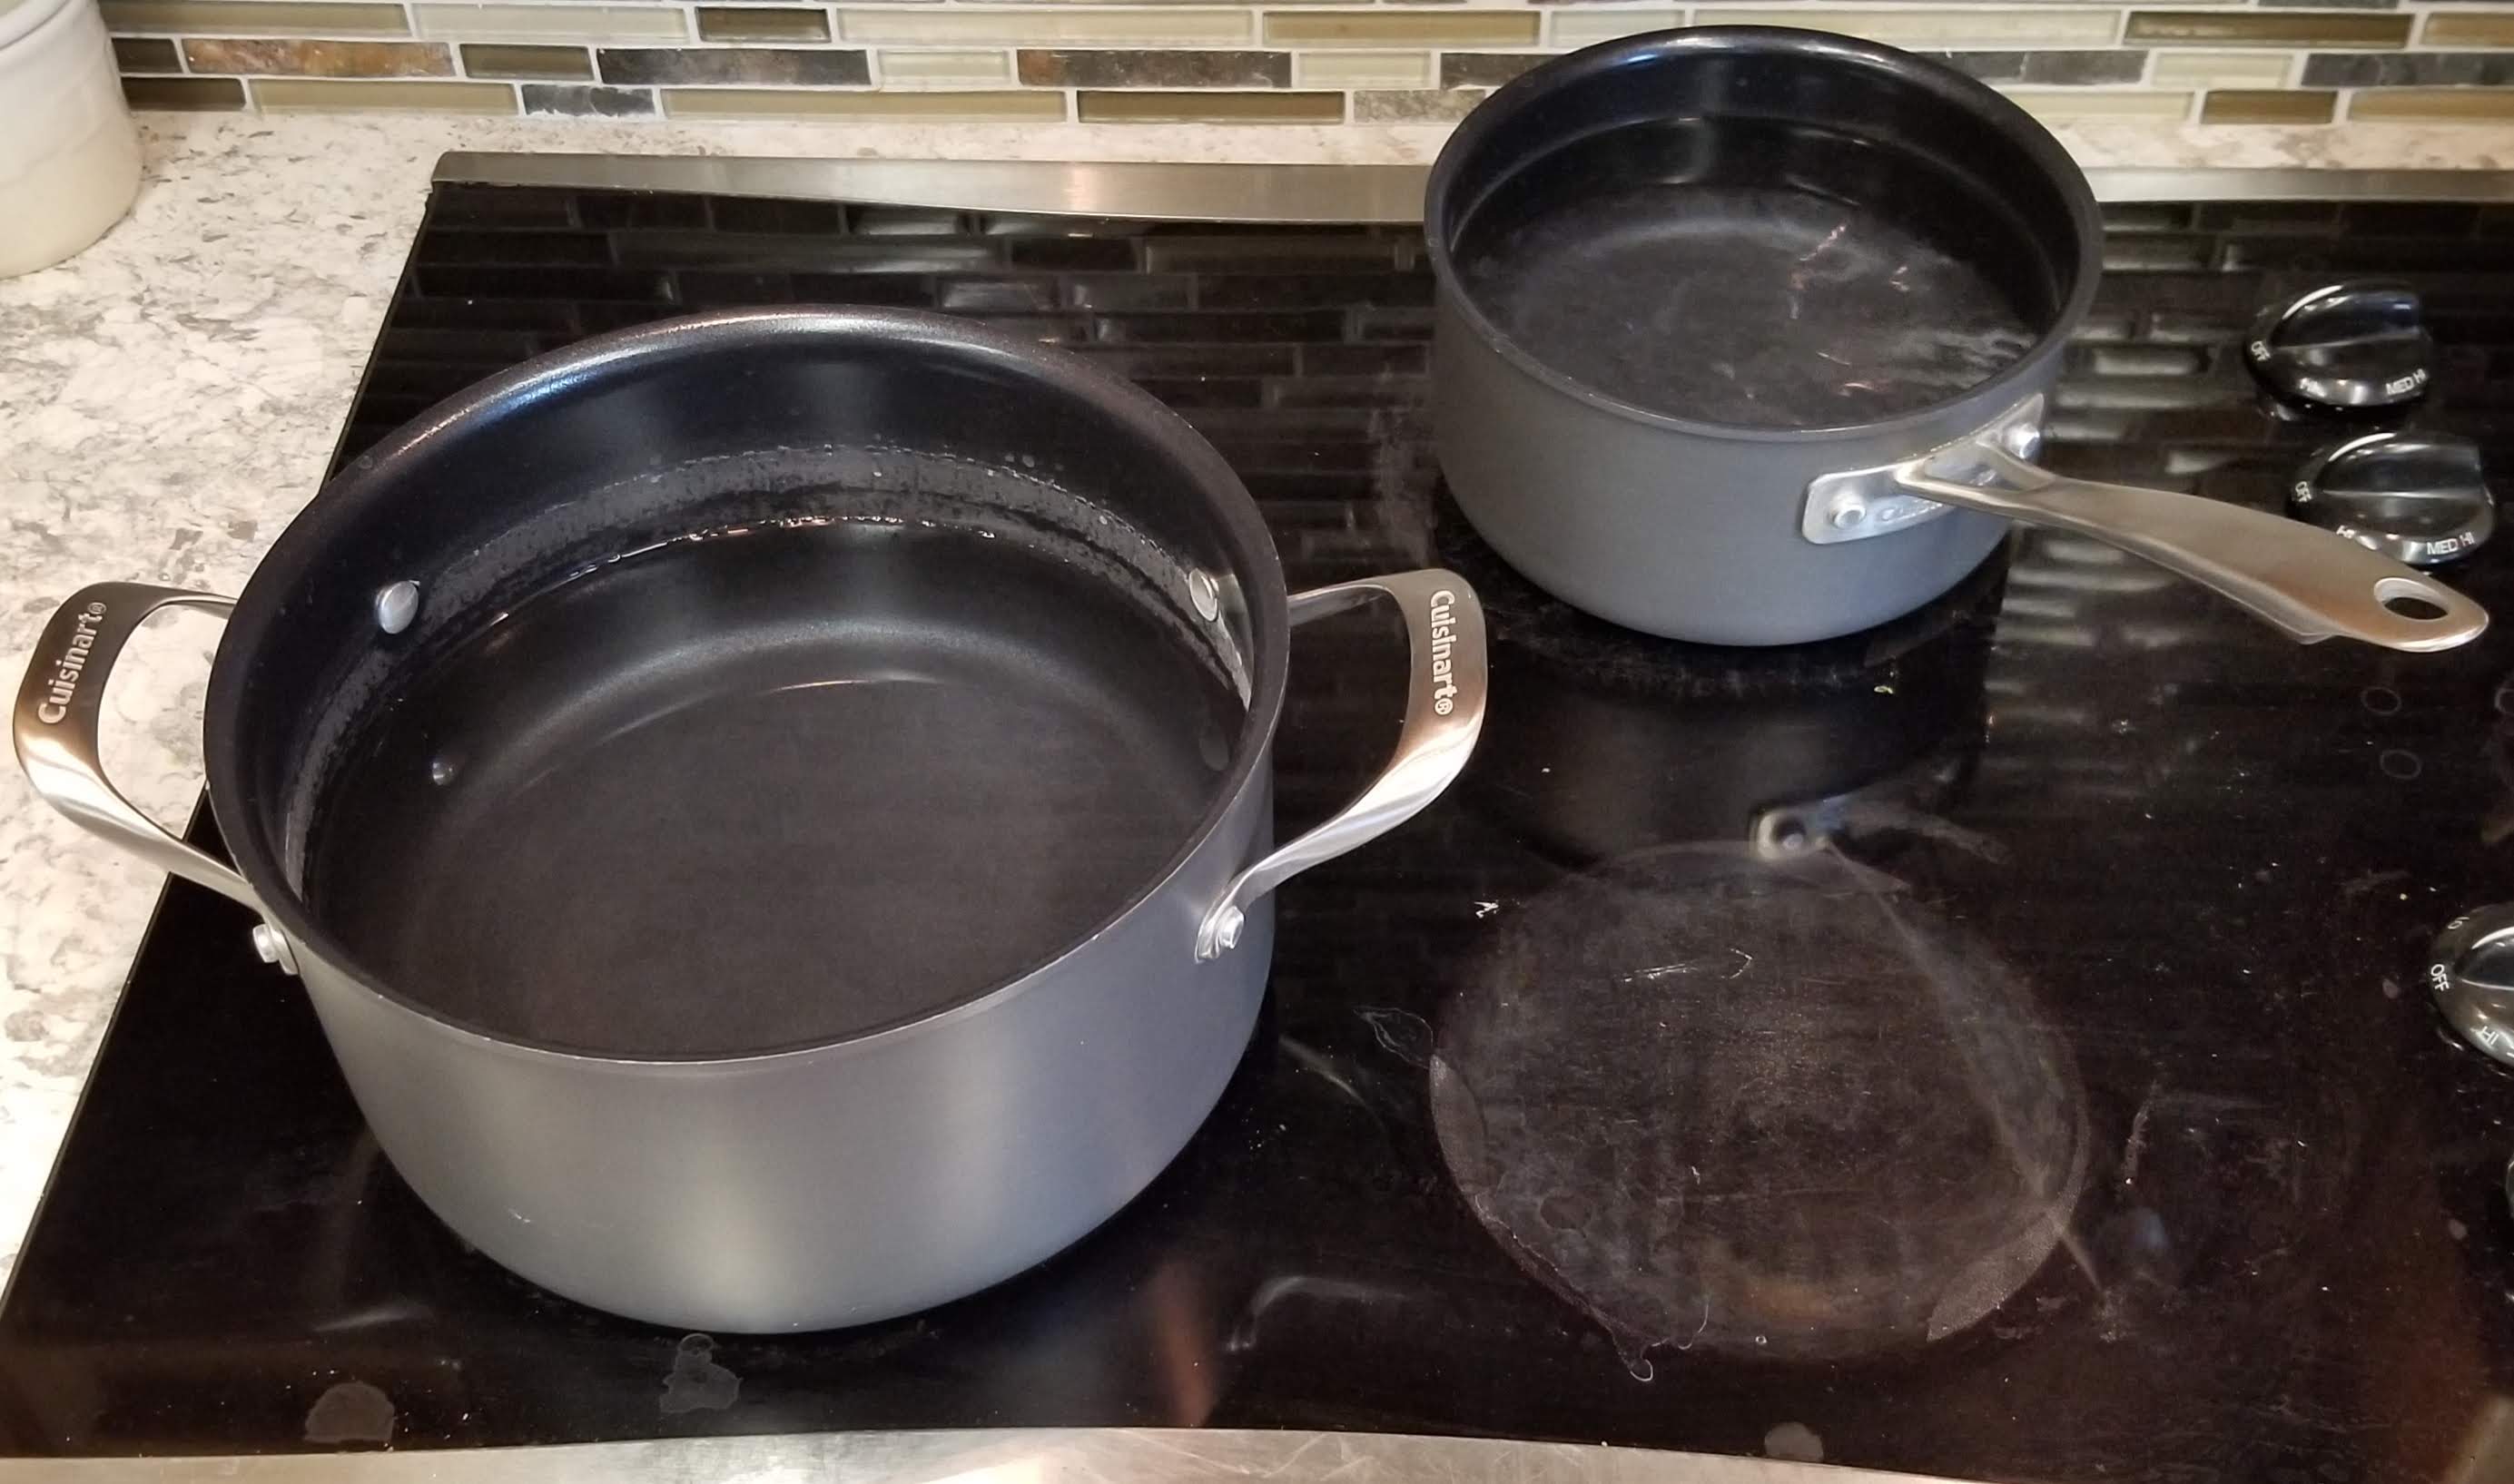
Put new lids in bowl. Pour boiling water into bowl with lids. Do not use used lids.

Add water to tea kettle. Boil again.

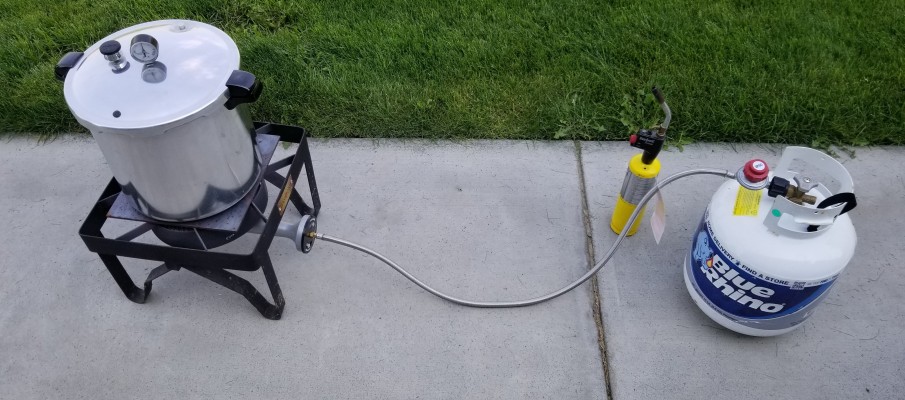
Add 3″ of water in pressure canner. Heat water for a few minutes so it is ready to go. Turn off gas and put lid on. Assuming summer time 70-90 degrees outside.
6 Quarts per batch.
Remove warm jars from dish washer.
Pack jars with beans. We break into 1″ to 2″ pieces. Shake jar occassionally to pack tighter.
Fill until jar is filled to within inch of top for head space or just below neck.
Add 1 teaspoon canning salt per quart. (Optional for taste.)

Use funnel to fill jars with small sauce pan. Do not fill all the way. Refill medium sauce pan with large pan as need. Top off with boiling water in tea kettle to neck of jar. ~1″ from top.

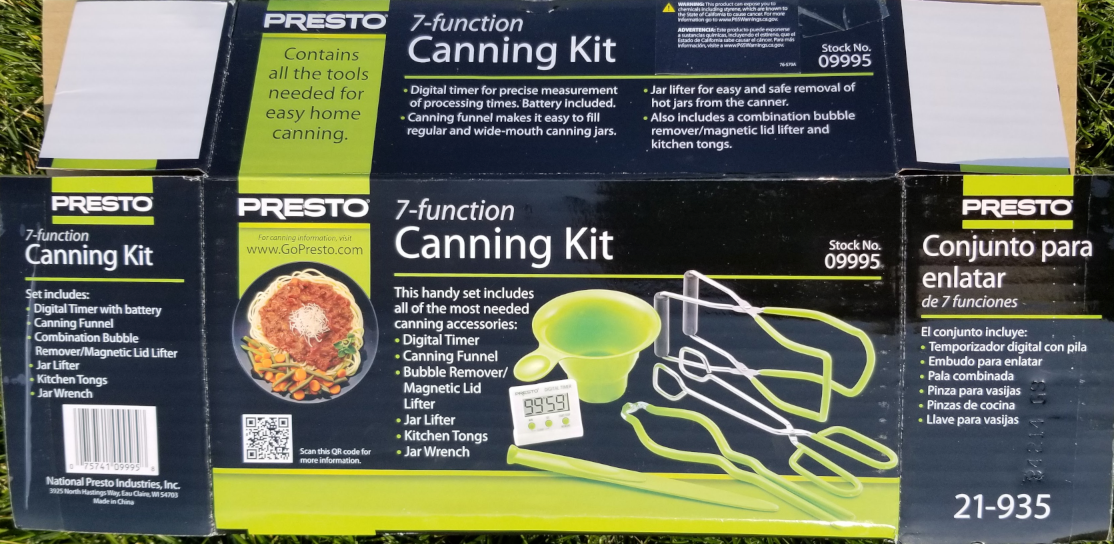
Use magnetic canning knife to slide into jars along the edges to knock out the bubbles.
Wipe off rims of jars with clean paper towel.
Use canning knife with magnet end to pick lids out of sterilizing water bath and place on top of jars.
Place rings over lids and tighten just snug. Not too tight.

Place 6 jars in pyrex baking pan or other tray. Carry out to table near canner. Light burner under canner.

Place 6 jars into canner. Try to keep them separated.
Set timer for 25 minutes.
Put lid on canner without weight. Wait until only steam comes out of spout. Use the jar tongues to put the weight on so you do not get steam burn.

Wait for pressure gauge to read 12 PSI @1000′ above sea level.

Turn off burner. Turn back on when gets to low end of 10 PSI.

After 25 minutes, leave burner off. Wait for lid lock to drop down. DO NOT REMOVE SPOUT WEIGHT.
Remove canner lid. Use jar lifter tongues to lift jars out. Place jars on pyrex baking sheet and take into house to cool.
Repeat as necessary.
Once jars have cooled, make sure all lids sucked in. Rings can be backed off or removed. Store for later enjoyment.

St. Macarius the Great ca. 300-391
Abba Macarius said, ‘Walking in the desert one day, I found the skull of a dead man, lying on the ground. As I was moving it with my stick, the skull spoke to me. I said to it, “Who are you?” The skull replied, “I was high priest of the idols and of the pagans who dwelt in this place; but you are Macarius, the Spirit-bearer. Whenever you take pity on those who are in torments, and pray for them, they feel a little respite.” The old man said to him, “What is this alleviation, and what is this torment?” He said to him, “As far as the sky is removed from the earth, so great is the fire beneath us; we are ourselves standing in the midst of the fire, from the feet up to the head. It is not possible to see anyone face to face, but the face of one is fixed to the back of another. Yet when you pray for us, each of us can see the other’s face a little. Such is our respite.” The old man in tears said, “Alas the day when that man was born!” He said to the skull, “Are there punishments which are more painful than this?” The skull said to him, “There is a more grievous punishment down below us.” The old man said, “Who are the people down there?” The skull said to him: “We have received a little mercy since we did not know God, but those who know God and denied Him are down below us.” Then, picking up the skull, the old man buried it. (The Sayings of the Desert Fathers, The Alphabetical Collection:Macarius the Great, 38. )
Lefse is a well known Scandinavian treat. Our family used to make the annual pilgrimage to Scandia Bakery in Stanwood, WA every Christmas Eve. We would stop on our way down to visit family in the Seattle area.
Years later, my wife and I decided to learn how to make Lefse on our own. We visited Lefse Time and watched youtube to learn how.
This is how we make lefse.
Boil a bunch of russet potatoes. Make them like you are going to mash them. Figure 2 pounds per batch.
Drain the potatoes.
Rice the potatoes. We bought a Norpro Stainless Steel Commercial Potato Ricer as it makes the job go much quicker.

Cut the butter into pads and mix into the hot potatoes. We normally rice 8 cups into a Pampered Chef Batter Bowl. 1/2 Cup butter per 8 cups riced potatoes.

Once the butter is thoroughly mixed into the potatoes, we place them into a 32 cup tupperware bowl with lid. We add more of our buttered riced potatoes until full. I smooth the top out evenly and push on the lid. We keep them in a cool place just above freezing overnight.

I recommend having more of these large bowls than Lefse dough. The next day I cut the dough in half by eye. I then dump half of the dough into another container and set it aside. I mix in the heavy cream, sugar, salt and flower.
I knead the dough in my hands for a few minutes while working in all the ingredients. I like to pick the ball of dough out of the bowl and squish it between my hands in a ball. It should be slightly sticky but easy to smooth out.
I place the kneaded dough back into the bowl and begin rolling the rounds. Make a ball roughly the size of a satsuma orange. Roll it until it is a smooth ball and smash it flat slightly before placing it on a sheet of parchment paper on a cookie sheet. Repeat this process until all the dough is gone.
Get to rolling. It goes much more quickly to have multiple rolling kits and multiple griddle. The kits from Bethany are hard to beat. I prefer using the teflon coated griddle. It might not be super healthy but it does a great job and is easy to clean.

I set the griddle to 500 degrees on the dial. Once it is heated up, I use the lefse stick to transfer the rolled sheet of lefse onto the griddle. It might take some mistakes to get the hang of it.
The lefse will start to bubble when it is cooking. You might peak under the corner to see how it is coming. I like my lefse to have golden brown spots. If it gets black spots it is cooking for too long. (At least that is my opinion. Once both sides are done, place the lefse under towels so that it does not dry out. Normally we put down a standard bath towel. Then we place a tea towel on top of the bath towel. The lefse will sit on this tower. Then I place another tea towel on top of the lefse. I like to place another bath towel over this. Lefse that dries out too much is no fun. Continue rolling and cooking until all the dough is gone. We let the lefse cool under the towels until it is barely warm. Then we take 3 rounds and fold them in half. We put them into gallon zip-lock freezer bags. Some we save in the refrigerator. The rest we freeze and enjoy all year.
Good luck with all your lefse fun!